Set up a printer
Install a Windows printer, check the paper format, make a test print and use print quotas.
FotoboxSuite uses the printer configured in Windows. This keeps printer setup clear and lets you check it through familiar Windows printer settings.
Install a Windows printer
- Connect the printer to the photo booth computer.
- Install the manufacturer's driver or use an existing Windows printer.
- Check that the printer is ready in Windows.
- Make a simple Windows test print outside FotoboxSuite.
Assign printers to layout formats
Printers initially contains one printer. You can add more Windows printers and assign the appropriate layout formats to each: 10 × 15 cm or double 5 × 15 cm strips, in portrait or landscape. Each layout format belongs to exactly one printer. The portal shows the same assignment for the relevant photo booth.
Resolution, paper and cutting
The gear for each printer opens resolution, paper size and cutting options. You can save separate Windows driver profiles for regular photos and double strips. Automatic cutting requires a suitable printer and the appropriate manufacturer-driver setting. Alternatively, choose manual cutting.
A double-strip layout remains a single 5 × 15 cm strip as a digital file. For printing, FotoboxSuite places two identical strips on a 10 × 15 cm sheet. Copies and print quotas count sheets.
Check the paper format
Before the event, paper format, orientation, margins and printer-driver settings should match the layout template in use. A real test print is particularly worthwhile for 10 × 15 cm output.
Make a test print
A test print shows whether the layout, scaling, colours and print job arrive correctly. Start event operation only after this check.
Use print quotas
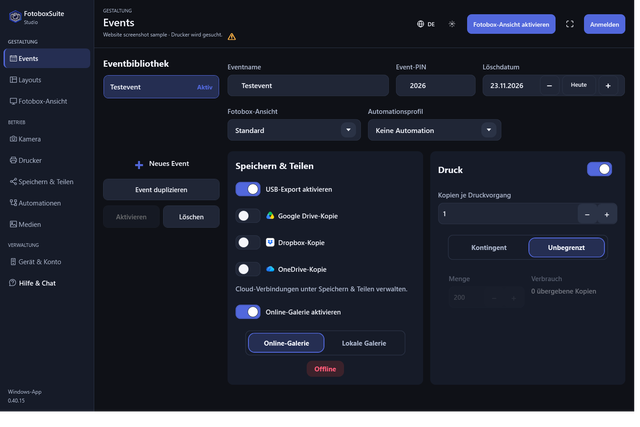
Events can use a print quota. This keeps the planned number of prints and print control during the event clear.