FotoboxSuite
Design photo booth start and result screens
Design the photo booth’s start screen and result view: live view, your own images, text, QR code, Print and Done.
Photo booth mode is the guest interface. In FotoboxSuite, you can design the start screen and result view in the same photo booth design and assign that design to an event. This lets you tailor the welcome, capture start and photo output to the prepared event.
What belongs on the start screen?
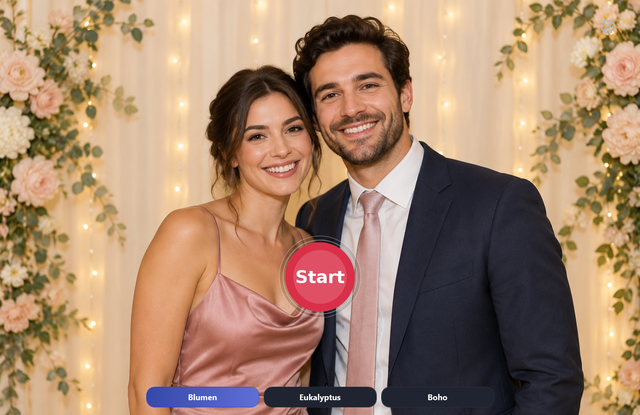
The start screen can contain live view, your own images or PNG overlays, text, a preview of the selected print layout and a start button. Start button options include a buzzer, rounded buttons, rectangles and your own images. They all trigger the same capture workflow.
Position, size, rotation, colours, borders and layers can be edited. In the layer list, you can lock or hide elements and change their order. Text variables such as {EventName}, {Date}, {Time} and {PhotoCount} refer to the current event.
Design the result view
In the editor, switch between “Start” and “Result”. The result view includes the finished photo or layout, the actions Print and Done, eine QR-Code- oder Download-Karte und ein Download-Hinweis. Der Druckstatus erscheint direkt im Druck-Button. Die Elemente lassen sich passend zum Display anordnen.
By default, the result background is inherited from the start screen. You can disable this and choose a separate background for the result. Landscape and portrait formats provide different amounts of space.
Prepare a photo booth design for an event
- Open the photo booth mode library. Open Photo booth view in the portal or app.
- Choose a template and screen format. Use an editable template or create a design to match your landscape or portrait display.
- Design the start screen. Add your own images and text, position the live view and keep the start button easy to reach.
- Design the result screen. Position the result photo, QR code, notes and actions. Check that buttons are large enough and text is easy to read.
- Check preview states. Sieh dir „Bereit“, „Druck läuft“, „Ohne Druck“, „Limit erreicht“ und „Ohne Galerie“ an, um die Ausgabezustände einzuschätzen.
- Save and assign. Save the design and select it for the intended event. Then check it on the actual photo booth.
How do design and output work together?
The design determines the interface’s arrangement and appearance. Whether guests can print also depends on event settings, the print quota and printer readiness. A designed print button alone does not enable printing.
The QR code requires available and enabled photo or gallery access. Check the actual code after a test capture. An editor QR code preview is for design purposes and is not a delivered event access link.
“Done” closes the result view and starts the next session. Together with visible print status, this action helps guests understand the workflow without opening the management view.
Run individual events with different designs
The photo booth mode library and print layout library are separate. Each event uses one selected photo booth design and can offer several print layouts to guests. Choose another photo booth design or “Standard” for a different event.
Drafts take effect only after saving. Required images are loaded onto the photo booth before a new configuration is activated. Synchronise changes before the event. If design images are missing, a working standard view remains available.
What should you check on the display?
Check the interface at the actual resolution and orientation. The start button must remain accessible, and the photo, QR code and labels must not overlap. Then test the complete workflow, including capture, result, QR code and printing if enabled.
The photo booth design controls the guest interface. The print layout controls the print, and a greenscreen background controls the scene behind the people in the photo. Prepare all three areas to suit the event.